How to Set Up a Fish Tank – The Complete Guide
- Step 1 – Decide on the position for your Aquarium
- Step 2 – Select the Fish Tank
- Step 3 – Clean Your Tank
- Step 4 – Get a Stand for Your Tank
- Step 5 – Add Substrate to Your Tank
- Step 6 – Select a Filtration System
- Step 7 – Install the Filter
- Step 8 – Fill Up the Tank with Water
- Step 9 – Set-Up Plants & Ornaments
- Step 10 – Light-up Your Aquarium
- Step 11 – Install a CO2 Supply System
- Step 12 – Cycle the Aquarium
- Step 13 – Introduce Fish to Your Tank
- Summary
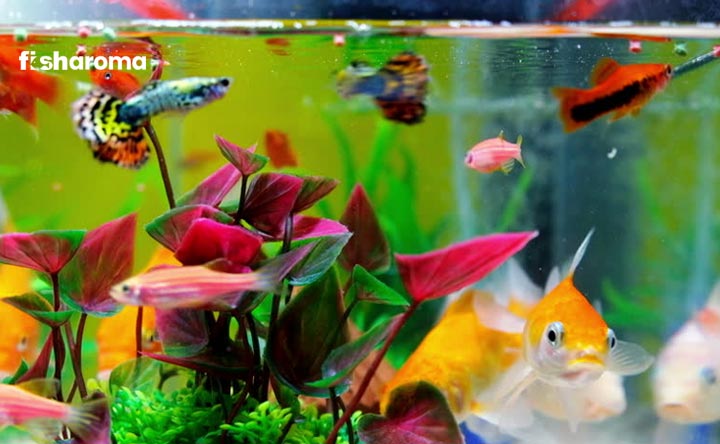
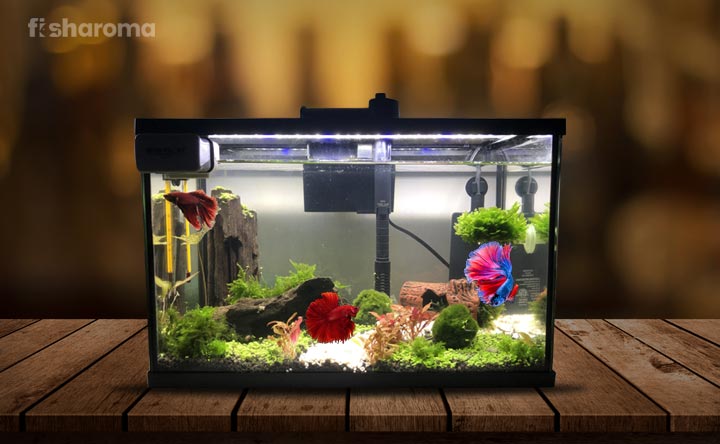
Who doesn’t love a fancy aquarium in their home? Isn’t it nice to have a little corner that hosts some amazing aquatic species? Not only for adding to the aesthetics of your home but having marine life is also regarded as therapeutic and is considered to be a stress-buster. But how to set up a fish tank perfectly?
Seeing an aquarium on the television or in someone else’s home and having one in your home are two different things. Its set-up may not be rocket science but still requires a certain amount of diligence. So, what are the things that you need to keep in mind in order to set up a fish tank? We will answer all your queries in a step-by-step manner to help you understand how to set up a fish tank.
Steps to Follow to Set up a Fish Tank
You just can’t get up from your sleep one day and decide to bring in fish and an aquarium at your home and expect that everything will go smoothly. You need to acclimatize the aquarium first before letting your fish in it. Once you decided that you want to own a fish tank, have patience and methodically follow the steps mentioned below:
Step 1 – Decide on the position for your Aquarium
The first step towards building your fish tank is to decide where you want to place it. Think considerably because this is one of the few decisions that you may not be able to go back to in the future. It is extremely difficult to change it afterward. Whether you want to place it in your living room or in your dining area or even in your bedroom, make sure that wherever you place it, it is out of direct sunlight and has a nearby power supply.
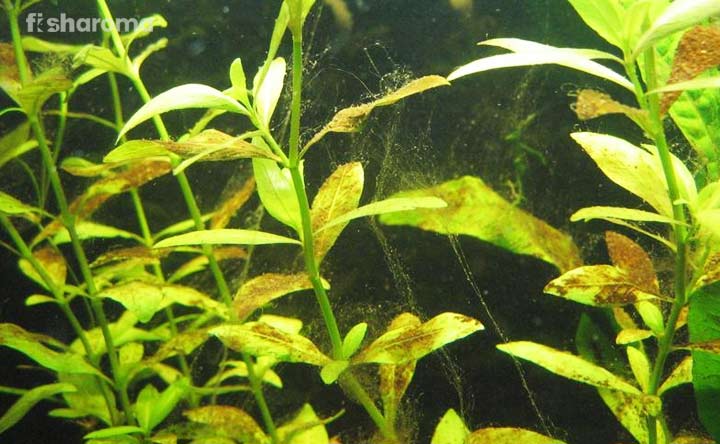
You must be able to regulate the temperature and light of the aquarium and it should not be primarily influenced by other sources such as windows. You need to ensure that the place where it is kept has a consistent temperature and doesn’t have any overpowering light. Also, keep in mind that direct sunlight will result in the growth of green algae in your tank.
Keep a distance of at least 5” (12.7 cm) between the wall and the aquarium to make room for the filtration system. Try to avoid keeping the tank under a vent as dust from it will drop into the tank. If possible, try to keep your tank near a water source, as this will ensure that you don’t have to haul a lengthy distance to bring in water during the cleaning of the tank. Having a surge protector power strip will come in handy for you while setting up a fish tank.
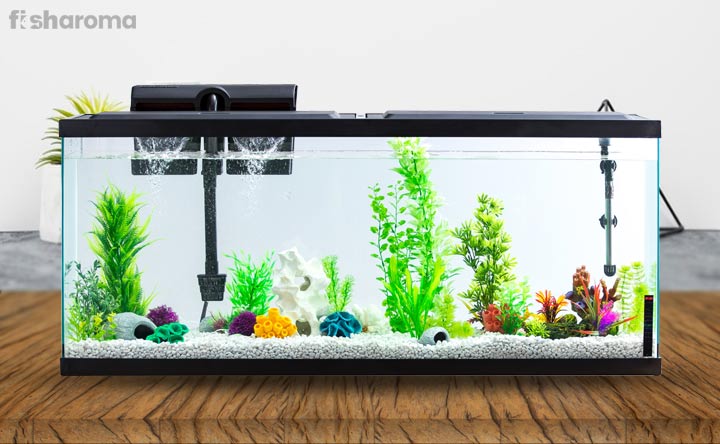
Step 2 – Select the Fish Tank
The most vital step in the method, this step requires you to take into consideration multiple factors that will direct the course of your fish-keeping experience. You need to decide whether you want your tank to be a small species-only tank or a large-community tank or a breeding tank.
You need to bear in mind the kind of fish you want to host in your tank. Your tank should be large enough for the type of fish and the number of fish you plan to have. When you have a larger fish or multiple fish together, the quantity of waste will also be large. Also, plants, caves, and other ornaments will take up a lot of space in your fish tank. So, keep this in mind as well!
A 55-gallon tank is considered to be a standard size for a home aquarium. You shouldn’t start with a larger tank than this size if this is the first time you are petting fish.
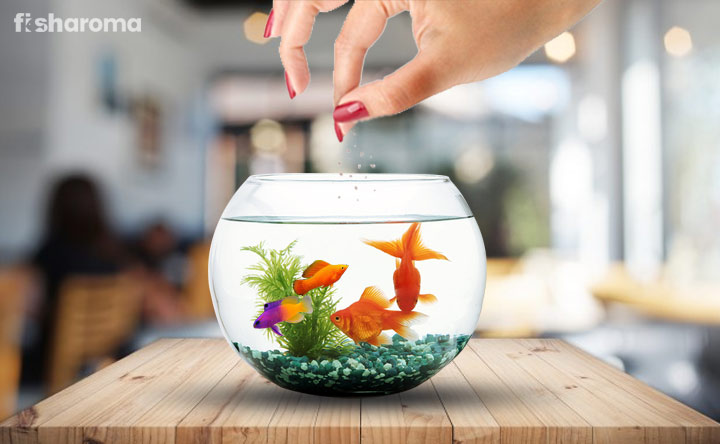
You can choose to go for a smaller size like a 20-25 gallon tank too which will be enough to host fish such as tetra, platys, mollies, guppies, Cory cats, etc. Try to not select a tank that is less than 10 gallons since it requires more maintenance, contrary to popular belief.
Step 3 – Clean Your Tank
It doesn’t matter whether you are buying a brand new unused aquarium or using an old used aquarium – cleaning it through and through is of utmost importance. Of course, in case of a used tank, the cleaning procedure is more thorough.
You must start by removing any existing debris, if there is, from the tank. After dusting off the tank, take a kitchen roll and dip it in vinegar and lukewarm water and wipe both the inside and outside of your tank walls.
This will eliminate algae spores or any other harmful bacteria that may reside on the walls. Don’t use harsh material to wipe the walls. Also, avoid using any soap, detergent or any household chemicals for cleaning.
After cleaning, you have to check whether your tank is leak-proof or not. To check it, just fill up your tank with a few inches of water. After waiting for an hour or two, simply run your fingers around the bottom edge of the tank to see if there are any leaks or not.
If you have bought an acrylic tank, you must be extra cautious of the material that you are using to clean your tank since they are more prone to get scratch easily. Try and use soft tissue papers for cleaning.
Step 4 – Get a Stand for Your Tank
Your tank needs a stand to rest upon. So, once you have bought your tank, you need to look for an appropriate stand for it. Now, many people use household items like a large storage box or a table to keep their fish tank. But it is better to use a separate stand for your tank.
On average, the total weight of an aquarium is 10 lb. per gallon of water. Therefore, whatever size of aquarium you buy; your stand must be able to support it.
You then need to check whether your stand is leveled or not. To do this, you can check it by filling up your tank once again with water to see if there is any tilt. You can also use a spirit-level for the same.
Also, make sure that an edge of the tank is not sticking out over the side of the stand. It is recommended to set your tank on a wooden floor instead of a carpet or a rug.
Step 5 – Add Substrate to Your Tank
The next step in the process of how to set up a fish tank involves the substrate of your tank. Substrate refers to the base of your tank. Depending on the type of fish you want to keep or the type of plants you want to grow, decide on a substrate type. There is a variety in the material and color of substrate available in the market.
Apart from adding to the aesthetics of your tank, they also have health-related benefits. Now, bear in mind that changing substrate is extremely difficult once you have already started using it. Therefore, take some time to decide upon the type of substrate you want to use.
It is ideally recommended that you should use 1 lb. of substrate per gallon of water to create a 1” thick bed of substrate. If you want 2” of the substrate layer in your tank, simply add 2 lb. of a substrate. The following table also illustrates the ratio of tank size to the amount of substrate needed.
| Tank Size (in gallons) | Amount of Substrate Needed (in lbs.) |
| 10 | 10-20 |
| 20 | 20-40 |
| 40 | 40-80 |
| 50 | 50-100 |
| 55 | 55-110 |
| 75 | 75-150 |
| 90 | 90-180 |
| 100 | 100-200 |
| 125 | 125-250 |
| 150 | 150-300 |
One thing that you must do before filling up the tank with the substrate that you just bought is to wash it. Although they come pre-washed, they usually get dusty over time. It results in cloudy water in your tank. Therefore, rinsing them is a good idea.
To do this, add small amounts of the substrate in a bucket of cold water. Swirl your hands around it and rinse them until the water is clear. Do this for the entire amount of the substrate. In the case of gravel substrate, you can wash them with a hose pipe. Again, do not use any chemicals or soaps for washing your substrate as it is harmful to the health of your fish.
The base substrate of your tank will serve as the breeding ground for the beneficial bacteria that will help break down the organic waste substances. There has to be a proper supply of oxygen to the substrate since the roots of your aquatic plants and bacteria need it to thrive. The substrate must be porous and loose. A bunch of ready-to-use substrates is available in the market that helps grow stem plants. Not only do they not need any further supplements, but they also contain live microorganisms that help nourish your plants that establish a good environment.
Step 6 – Select a Filtration System
Having a filter in your tank is very crucial as it helps eliminate the waste product from your tank as well as regulate the oxygen level.
You can opt for a power filter or an under-gravel filter. Power filters are hung on the back of the tank and are usually recommended over under-gravel filters for beginners.
If you are opting for a power filter, select a filter that will be able to circulate enough water for the size of your tank. For instance, it should be able to filter your water five or more times per hour i.e. gallons per hour (gph). Therefore a 50-gallon tank would need a filter that circulates at least 250 gph.
In case of an under-gravel filter, you have to ensure that the power-head or air pump is strong enough for your tank size, because the bigger it is, the better. This filter requires more maintenance and if you don’t vacuum the gravel, the filter will get clogged and turn into a killing zone. Also, this filter can’t be used on sand or other fine substrates.
Step 7 – Install the Filter
A power filter has to be set up at the back of the tank in a way that the outflow will evenly distribute the water. There are several tank hoods available in the market that come with pre-perforated cut-outs that make it easier to position your equipment. You should only turn it on after your tank is filled with water.
If you have opted for an under-gravel filter, first and foremost ensure that the lift tubes are fitted. You would need one lift tube for a submersible power-head.
However, if you have a traditional air pump in a tank that is, let’s say under 40-gallons, you would need two lift tubes at both the ends. The pump airlines or power-head should be attached to the appropriate lift tube(s). Again, do not turn on the filter until and unless you have filled the tank with water.
Step 8 – Fill Up the Tank with Water
The first aspect you need to look for in this step is what type of water you need based on the type of fish you want to host. Mainly, there are two types of aquarium based on water type – Freshwater and Saltwater.
In case of both freshwater and saltwater, you would have to add de-chlorinator to the water, the instructions to which can be found on the bottle.
Usually, the ratio is 1 ml of de-chlorinator per 20 gallons of water. In the case of saltwater, you have to ensure the water has been through Reverse Osmosis (RO). For this, you can either buy RO water or use treatments. Also, if you are not buying saltwater, then you would need sea salt (that are available in the market) and mix them to your tap water.
It is also advised to add a dose of Safe-Start or some other bacterial catalyst that will speed up the growth of good bacteria. Read thoroughly the instructions on the bottle.
When the chemical is circulated, you might have to remove the activated carbon of your filter because the filter may remove the bacteria before the water gets detoxified.
When you pour the water in your tank, try to keep a bowl or saucer over the substrate and fill your tank by pouring water over the said bowl or saucer. This will help prevent your substrate from being dispersed, especially if it is sand or any other fine material.
The water should also be governed by a number of other factors that are determined by the fish you keep in your tank. The pointers you need to keep in mind while selecting the water for your fish tank are as follows:
Temperature
Some fish prefer warm tropical water while others prefer water with a bit of cool temperature. Ideally, a temperature of 78-80° F (25-27° C) suits most fish. Try to keep a submerged thermometer to track the temperature of the water inside.
Keeping a water heater helps you regulate the temperature of the water. In order to ensure that the water is evenly heated, try to place the heater near or at the opening of the filter that expels the water.
pH Level
The ideal pH level for freshwater beings is 6.5-7.5. You can change the pH level to suit your fish type by changing it from neutral pH to alkaline/acidic pH. In order to lower the pH level, you can add in driftwood and peat that will change the natural buffer ability of the water from neutral pH to acidic.
You can also use Seachem Acid Buffer to lower pH level by adding 1/ teaspoon (2 gm) of the buffer to every 20 gallons of water until you reach your desired pH level. On the other hand, to raise the PH level, you can add in crushed coral or Seachem Alkaline Buffer (in the same amount as stated above) daily until you reach your desired pH level.
Mineral Level
The mineral content in the water of your tank is also crucial for the healthy living of your fish. The levels of nitrites and nitrates should match the living conditions of your fish. We will discuss more about this in Step number 12.
Hardness
Measured in dKH, the hardness of the water should be checked before putting in your fish in the tank. If your water is too soft for your fish, then you should add both the Seachem buffers together as per your desired pH level. This will help soften your water. On the other hand, if your water is very hard, then you can dissolve it in RO or DI (De-Ionized) water.
It goes without saying that you need to put a lot of effort in ensuring the quality of the water matches the required specifications of your fish type. Regular cleaning and replacement of the water are also vital. You should never replace all of the water at once since that may disturb the ecological balance of your fish.
Not only will it kill off beneficial bacteria but also make it difficult for the fish to adjust to the new environment. Ideally, you should replace 30% of your tank’s water on a monthly basis or 15% of the water every 15 days.
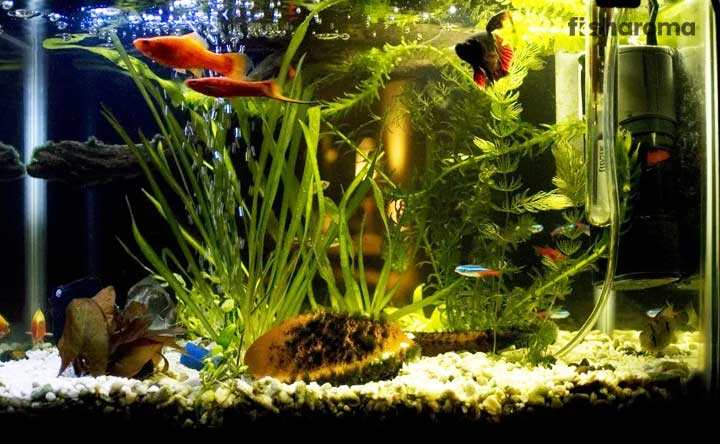
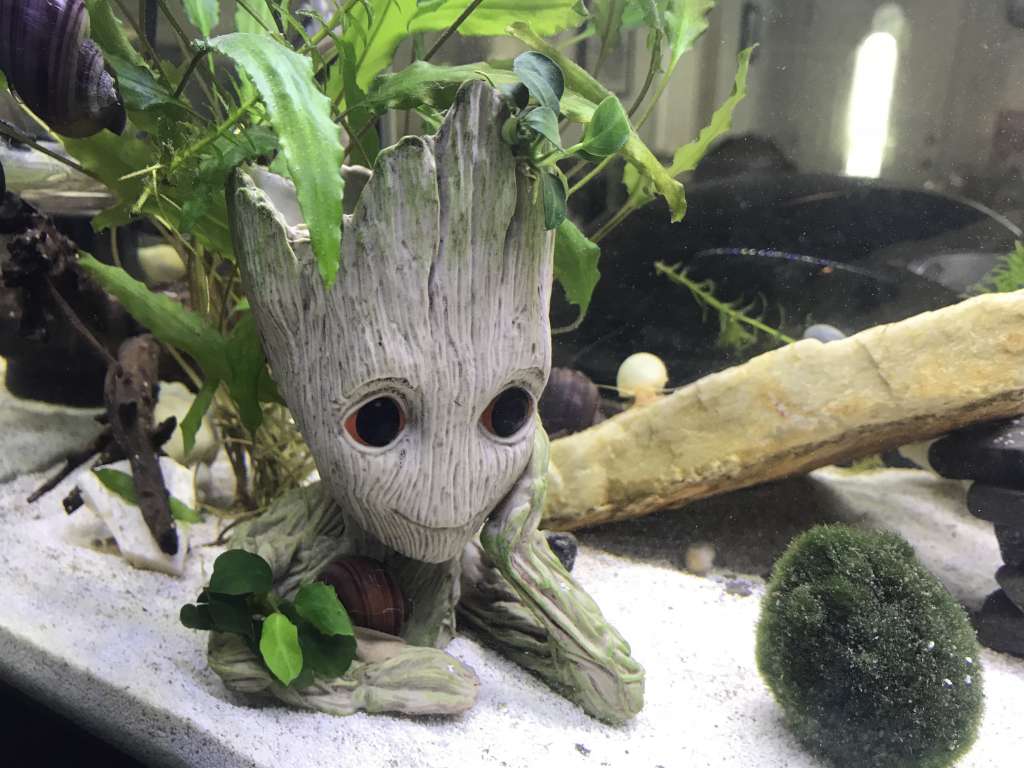
Step 9 – Set-Up Plants & Ornaments
Your tank won’t just house fish, but also plants and other ornaments such as corals, rocks, caves, driftwood, among others. Therefore, it is better if you plan in advance, by preferably drawing a blueprint of where you want to place what on a piece of paper. This will help you understand the amount of space that you would need for each plant or ornament and how you want to align them.
Driftwood, apart from its benefits as mentioned in the earlier section, also adds a sense of elegance to the tank. They, along with stones, serve as the framework of your aquarium. Although this is extremely subjective, if you keep this heavy object slightly off-center, its beauty elevates since it fulfills the golden ratio of 1:168 (2:3 approximately) that is soothing to human eyes.
The kind of plants that you can put in your tank will depend on the water type (freshwater or saltwater) and the type of fish living in it.
Natural plants are essential for some species of fish to survive in a tank. That being said, natural plants also are difficult to maintain since they require constant trimming and some fish even eat up the leaves of these plants.
If you are picking an artificial plant, make sure it is made up of non-toxic materials and that it doesn’t have any sharp edges to it since that may injure your fish.
The roots of the plants must be submerged in the substrate and the stems and leaves should be visible. Some plants are meant to be placed in the front, while others should be kept in the background. So, keep this aspect in mind as well.
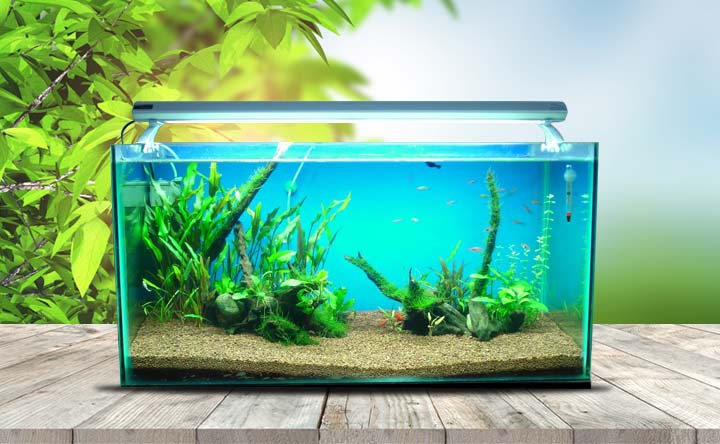
Step 10 – Light-up Your Aquarium
Most of the aquatic plants need lights, CO2 and nutrient in the substrate to grow. It helps in the photosynthesis process. However, over-lighting or even under-lighting will kill the plants.
Here is a table that shows the kind of light that you would need to use as per your plant’s demand.
| Plant Type | Type of Light |
| Low Light Plant | 60 lumens/gallon |
| Medium Light Plant | 110 lumens/gallon |
| High Light Plant | 150 lumens/gallon |
Lights are crucial for fish as well. Some require bright light while others need dim light. A lot of the species have poor eyesight and cannot eat in the absence of a good lighting system. Make sure that the lighting system stays on for 12 hours a day and stays off for 12 hours of the day.
The lights, the kind of fish and the kind of plants, all three have to be complementary to each other.
Step 11 – Install a CO2 Supply System
If the plants in your aquarium require an abundance supply of CO2 to flourish, then you have to install a CO2 supply system.
This system is equipped with a CO2 regulator for adjusting the level of CO2 in your tank. You can check the level of CO2 with the help of a CO2 drop checker.
The ideal level of CO2 in a tank is 26-35 ppm. The quantity of CO2 should help your plants thrive as well as let your fish live happily. Shortage in its level will kill your plant and an over-supply of it will harm your fish. So, try to reach an equilibrium level.
Using a CO2 bubble counter can help you quantify the amount of CO2 injected in your tank. You can understand it by counting the number of bubbles released per second. Ideally, one bubble per second during the initial stages of planting is helpful, which can be later raised to 2-3 bubbles as the plants grow. Remember, this step is not mandatory. An aquarium that host a large number of plants need to follow this.
Step 12 – Cycle the Aquarium
After completing all these steps, plug in your equipment and start running them. Let your tank run for at least 24 hours to make sure everything is working fine. This process is called cycling and it is done to accumulate beneficial nitrifying bacteria, which helps process nitrites and toxic ammonia from fish waste products to prepare for the stocking of live animals.
In case of saltwater, you can add a live rock (live rocks aren’t essentially alive, but are called so because they have bacteria in them) to the tank. It will help kick-start the cycling process. In the absence of it, you can choose to add liquid ammonia.
In the freshwater tank, simply add ammonia as per the instructions on the bottle. Keep on continuing this process for a week. You will see that the nitrite and ammonia levels are spiking and dropping interchangeably. Once you see they have reached 0 (Zero) ppm, you will know that your cycle is complete.
Do not introduce your fish to the tank without cycling your aquarium first. Let the environment inside the tank work smoothly before it hosts the fish.
Step 13 – Introduce Fish to Your Tank
Finally, the stage that you have been waiting for!
Start slow! It is better to introduce a small number of fish at a time. One or two fish at a time is ideal, although if you are going to put a schooling fish, then introduce five of them together. And you must do research on the compatibility of your chosen fish. You must know which fish is the ideal tankmate for the fish that you want to pet.
Before adding the fish, acclimatizing them to the tank’s environment is vital. To do this, start by dimming the tank lights and floating the bag (in which the fish is kept) in the tank for 15 minutes so that it gets used to the temperature inside the tank.
Now, open the bag and pour a bit of water from the tank into the bag and keep on repeating it every 10 minutes. If you see the fish is reacting normally to it, then release the fish into the tank water by using a net.
The next two weeks are crucial for the survival of your fish. Make sure you keep a check on your fish to see any symptom or abnormal behavior. If you find anything suspicious, consult a fish expert soon!
Summary of How to Set up a Fish Tank
So, there you have it – Your guideline on how to set up a fish tank! If you follow these steps, you are good to go. Fishkeeping is tedious, but it’s worth it if you are willing to put in the hard work. These fish will become your companions and will burst your stress after a long day’s work.
Check Out Our Other Fishkeeping Guides
Before you run-off to set up your fish tank, check out our fishkeeping guides:
- Aquarium Mistakes for Beginners: Avoid the common mistakes that beginners make while building their fish tank.
- Things not to put in an Aquarium: Take a look at the items that you have to strictly avoid in a fish tank.
- How to Clean a Fish Tank: Building a fish tank is not the end of your job. Regular maintenance is what you need for its longevity. Learn how to clean your aquarium here.